When building your new home, consider the significant benefits of roughing in radiant floor heating (RFH) into your new slab. This cost-effective upgrade not only elevates your home’s value but also offers unparalleled comfort and efficiency down the road. This post will guide you through the simple yet impactful process of enhancing your under-slab insulation for a cleaner, more efficient heating system.
Understanding Radiant Heat Flooring in Home Construction
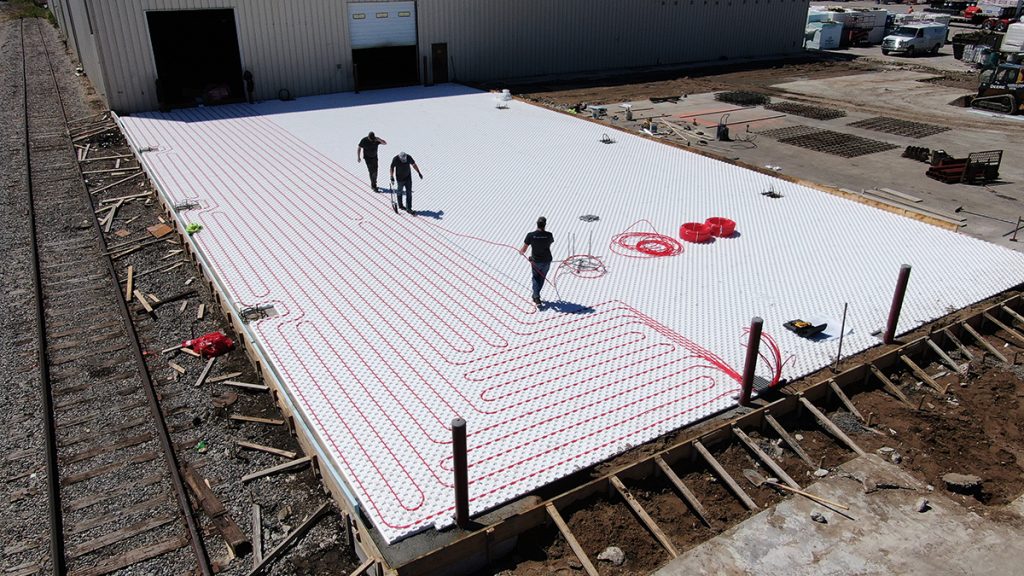
Radiant heat flooring involves a network of tubes within your concrete slab, connected to a boiler system. This setup efficiently circulates hot water under your floor, controllable via a thermostat, much like a traditional furnace. Interestingly, you can segment your RFH system into zones for targeted heating, rather than uniformly heating the entire house.
The Advantages of Radiant Heat Flooring Rough-Ins
RFH boasts two key advantages over conventional forced-air systems: energy efficiency and improved health and comfort. Unlike forced air, which quickly rises, leaving uneven warmth, radiant floor heating consistently radiates heat from the floor, maintaining a comfortable temperature at the lower levels of a room. This method significantly reduces heat loss and can save up to 25% more energy. Additionally, RFH doesn’t circulate dust and allergens and maintains optimal indoor air humidity, contributing to better respiratory health and comfort.

Installation Process of RHF Piping During Home Renovations
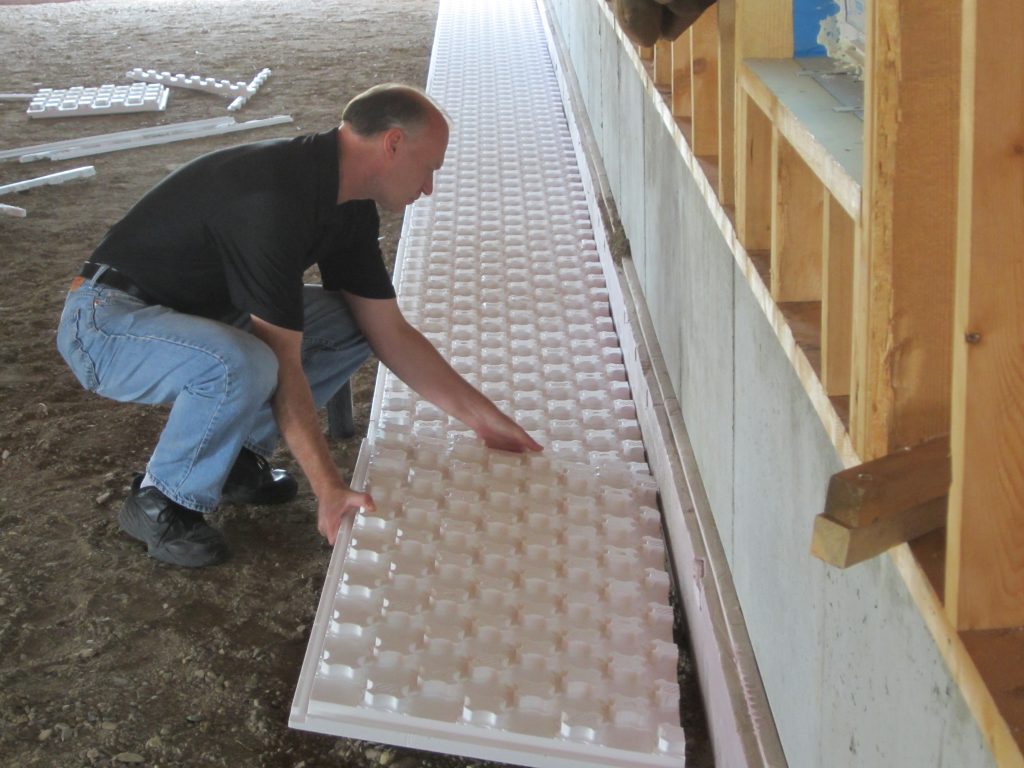
Incorporating a RFH rough-in project is affordable and straightforward. The key lies in selecting the right insulation material, such as Heat-Sheet panels, which serve dual purposes: insulating your slab and securing the radiant tubing. These panels interlock, cover a significant surface area, and are available in various R-values. Often, they negate the need for an additional vapor barrier, but it’s wise to consult building regulations.
Materials Required for RHF Rough-In:
- Heat-Sheet panels, calculated based on floor area.
- Pex tubing, approximately 1.5 feet per square foot of slab.
- Staples for securing tubing at bends.
- Additional concrete to cover the Heat-Sheet panel nodules.
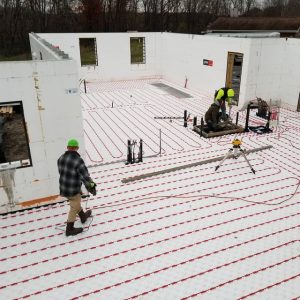
The installation is a walk-in process: lay the Heat-Sheet panels, place the Pex tubing, and then pour the concrete slab. This method is similar for above-grade floors, with the addition of subflooring and floor finishing after tubing installation.

Considerations During and After the Rough-In Process
- Document the tubing layout for future reference.
- If using subcontractors, ensure continuity by hiring the same team for
- connecting to the boiler.
- Roughing in RHF doesn’t compel immediate use; the system can be activated later.

Don't miss a thing!
Subscribe for exclusive content, insider industry news and limited edition webcasts.
Activating the Radiant Heat Flooring System With rough-in complete, there are two main methods to activate the RHF down the road and at a time of your choosing:
- Using a Plate Heat Exchanger:
- Connects to existing boilers or water heaters.
- Compact and easy to maintain, expandable for increased hot water flow.
- Using a Combi (Tankless) Boiler:
- Efficiently heats both potable and heating water.
- Ideal for space-saving but consider water flow rates for larger households.
Concluding Thoughts
Radiant heat flooring presents a healthier, more efficient alternative to traditional forced-air heating. With minimal added cost and effort in the rough-in stage, it prepares your home for a superior heating experience, beneficial for new homes, renovations and new additions.


